Appliance repair has a genuinely short tool list. The trade is diagnosis, not heavy mechanical work: you measure a component, decide whether it has failed, and replace it. That means the tools that matter are the measuring ones, and the rest is a modest hand set.
This is the complete list, arranged in the order a beginner should buy, with realistic prices. Buy the first tier and you can diagnose almost anything in an apartment.
- Tier 1 (about $100): multimeter, 40-bit driver set, non-contact voltage tester, headlamp, magnetic tray.
- Tier 2 (about $120): compact tool kit, clamp meter, adjustable wrench, PTFE tape, feeler gauges.
- Tier 3 (about $150): infrared thermometer, capacitor tester, long-reach cleaning brushes, spare leads.
- Skip altogether: oscilloscopes, soldering stations, impact drivers, rolling chests.
- Apartment-specific need: everything must fit in one cupboard.
On this page
Tier 1 — the diagnostic core
| Tool | What it does | Approx price |
|---|---|---|
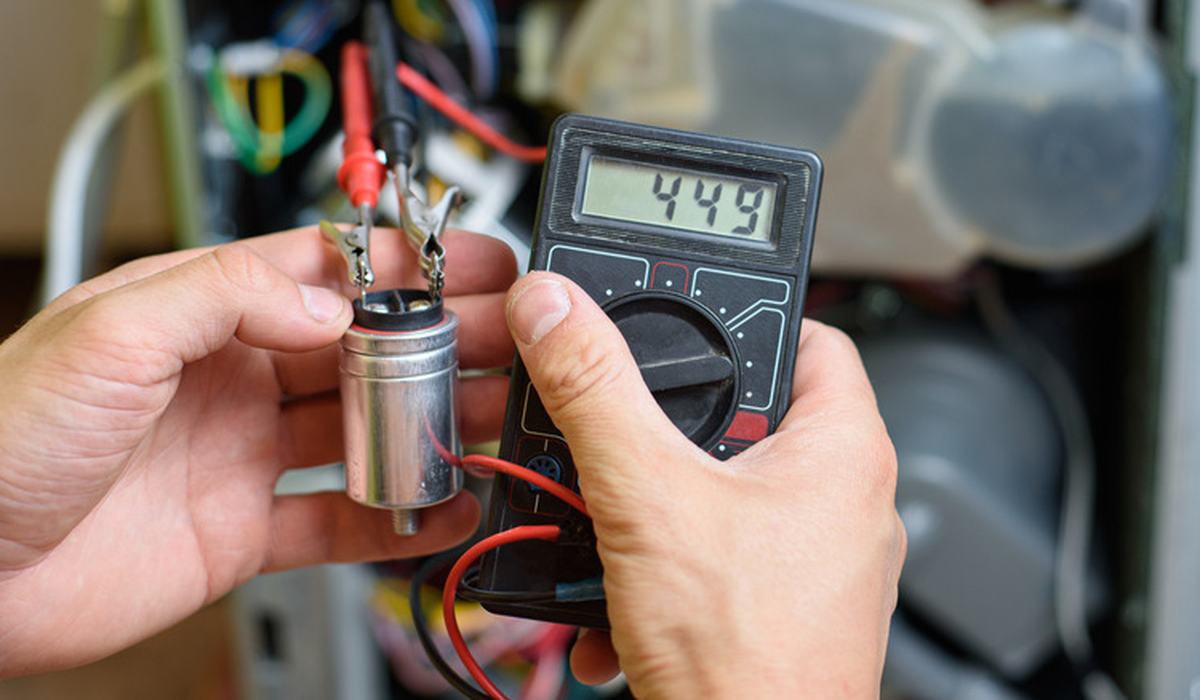
| Digital multimeter | Voltage, continuity, resistance, capacitance | $30–$80 |
| Non-contact voltage tester | Says whether a wire is live, safely | $20–$30 |
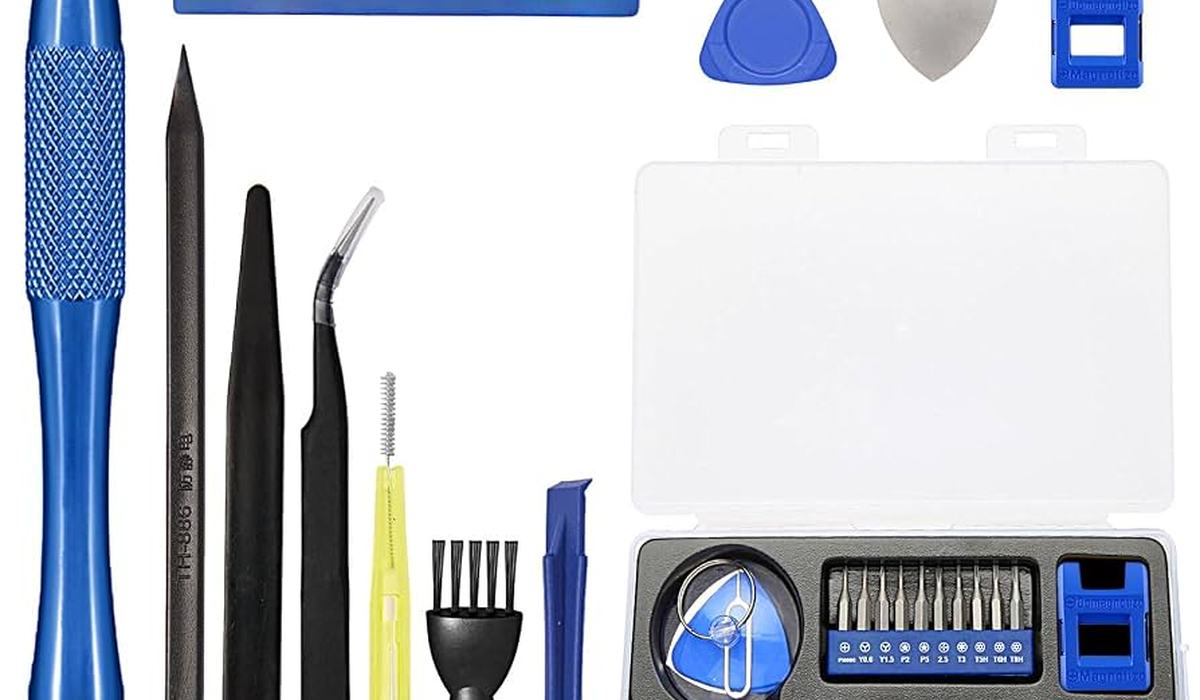
| 40–60 bit driver set | Opens every panel fastener incl. Torx | $25–$40 |
| Headlamp, rechargeable | Lights the bay and leaves hands free | $25–$40 |
| Magnetic screw tray | Keeps different-length screws separate | $8 |
| Electrical tape + cable ties | Safe dressing of disturbed wiring | $8 |
This tier is the one that turns guesswork into diagnosis. With a multimeter, a voltage tester and a driver set the overwhelming majority of domestic faults — open thermal fuses, failed capacitors, open elements, broken switches — can be found rather than assumed.
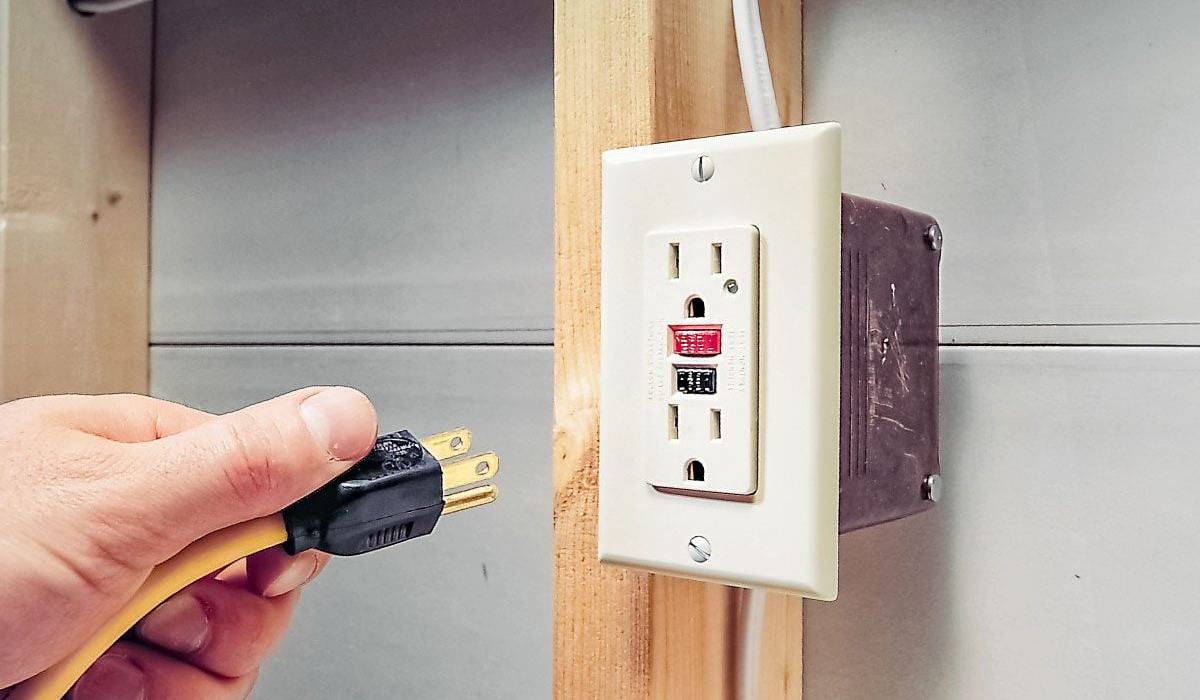
The voltage tester is the first thing you pick up and the last thing you put down. Test it on a known-live socket, check your target, then test it back on the live socket. That sequence, ten seconds long, is what keeps you from working on a circuit that is still live.
Tier 2 — the working kit
| Tool | What it adds | Approx price |
|---|---|---|
| Compact tool kit (50–100 pc) | Pliers, wrenches, hammer, tape, level | $40–$60 |
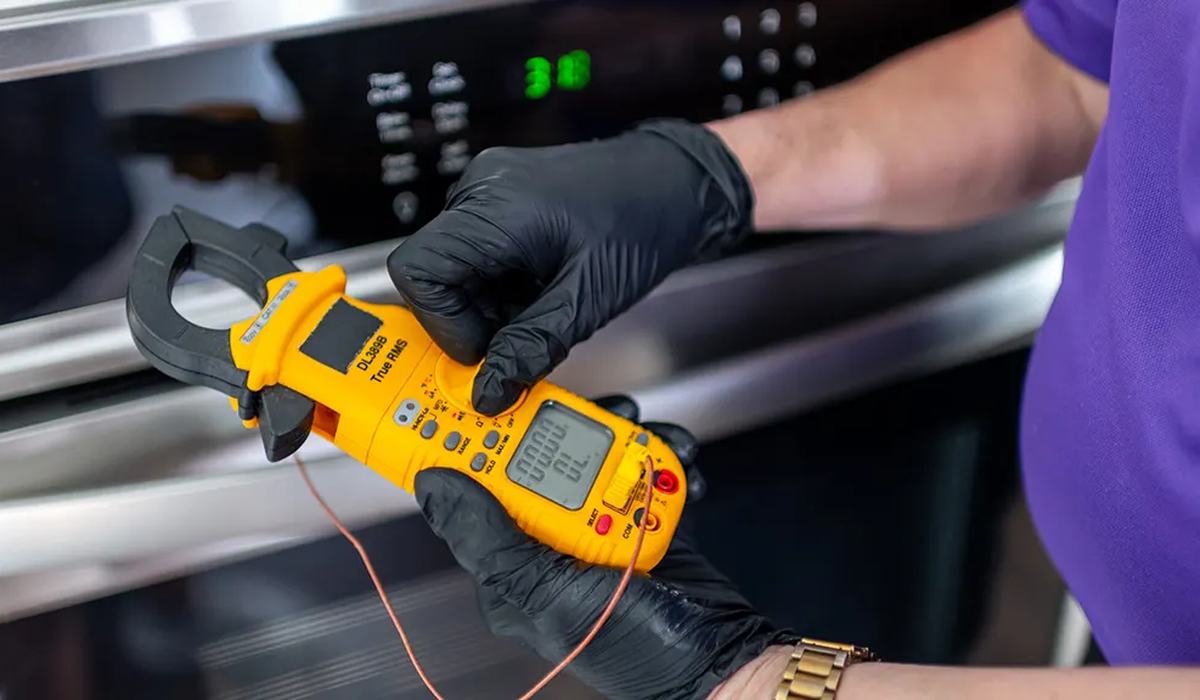
| Clamp meter | Measures current draw without breaking the circuit | $35–$45 |
| Adjustable wrench | Supply lines, tap nuts, drain fittings | $12 |
| PTFE thread tape | Every threaded plumbing joint you disturb | $3 |
| Feeler gauges | Door alignment and clearance checks | $8 |
| Small hacksaw | Trim, plastic pipe, stubborn bolts | $12 |
| Spare test leads, fine tip | Reliable contact inside connector housings | $12 |
Tier 2 extends you from diagnosis into the actual repair. The clamp meter earns its place specifically for compressor and pump faults: when a compressor hums without starting, current draw tells you whether it is trying to run and whether the overload is tripping.
Tier 3 — the upgrades
| Tool | When it becomes worth it | Approx price |
|---|---|---|
| Infrared thermometer | Verifying fridge and freezer temperatures quickly | $25–$45 |
| Capacitor tester | If you replace start/run capacitors often | $40–$70 |
| Long-reach coil brush | Condenser and vent cleaning | $10–$20 |
| Manoeuvrable vacuum crevice kit | Coil, vent and drain cleaning | $20 |
| Digital thermometer with probe | Fridge diagnostics with an alarm | $20 |
| Screw extractor set | The day you strip a screw head | $15 |
The infrared thermometer and a probe thermometer together are the fastest way to handle a cooling complaint: you establish whether the compartment is actually warm, then trace the cooling path. For a rental with one fridge, they replace a lot of uncertainty.
What you can safely skip
- Oscilloscope — board-level diagnostics is beyond a home appliance repair, and a replacement board is usually cheaper than the diagnosis.
- Soldering station — appliance wiring is connectorised. You do not solder it.
- Impact driver — it strips the sheet-metal and plastic threads appliances use.
- Rolling tool chest — apartments cannot store it, and you will use half of it.
- Full socket set — appliances use hex bolts in only a few sizes; a small set suffices.
- Refrigerant gauges and vacuum pump — sealed-system work is licensed and not a DIY job.
- Gas fitting tools — never DIY gas.
Total cost by tier
| Tier | Contents | Approx total |
|---|---|---|
| Tier 1 | The diagnostic core | ~$110 |
| Tier 1 + 2 | Diagnose and repair | ~$230 |
| Tier 1 + 2 + 3 | Full home appliance workshop | ~$400 |
| One professional call-out | For comparison | $120–$250 |
The comparison in the last row is the point. A single professional diagnostic call-out costs roughly what the whole Tier 1 kit costs, and the kit then serves every appliance in the flat for years. That is not an argument against professionals — it is an argument for being able to tell whether you need one.
Where a beginner should start
- Buy Tier 1 this week. A multimeter, voltage tester, driver set and headlamp.
- Learn four measurements: outlet voltage, continuity, resistance, capacitance.
- Practise on a dead appliance you were going to replace, not on the working fridge.
- Add Tier 2 when a repair needs it, rather than in advance.
- Know your limits. Sealed refrigeration systems, gas appliances and anything inside a mains board are not DIY work.
- Photograph before you disassemble. It is the cheapest insurance in appliance repair.
About $110 buys everything needed to diagnose most domestic appliance faults, and around $230 covers diagnosing and repairing them. Everything beyond that is a specialist upgrade. Start with the multimeter, the voltage tester, the driver set and the headlamp.
Frequently asked questions
Safety tools you must not skip
| Tool | Cost | Protects against |
|---|---|---|
| Non-contact voltage tester | ~$25 | Touching a live conductor |
| Insulated screwdrivers | ~$20 | Shorts while working live |
| Safety glasses | ~$10 | Flying debris, refrigerant, spring clips |
| Discharge resistor | ~$5 | Capacitor shock |
| Work gloves | ~$10 | Cuts from panel edges |
| Knee pad | ~$8 | Kneeling at a fridge |
Appliance repair is not a high-risk trade, but it has three specific hazards: a capacitor holding charge after the power is off, a panel edge that will cut you, and a circuit that is still live because a switch was knocked. Each of these has a cheap, obvious answer, and each is the reason someone ends up hurt doing a job they were perfectly capable of doing.
A charged run capacitor delivers a genuine shock, and appliance panels are stamped steel with razor edges. Discharge every capacitor and wear gloves when handling panels — those two habits prevent the overwhelming majority of home appliance repair injuries.