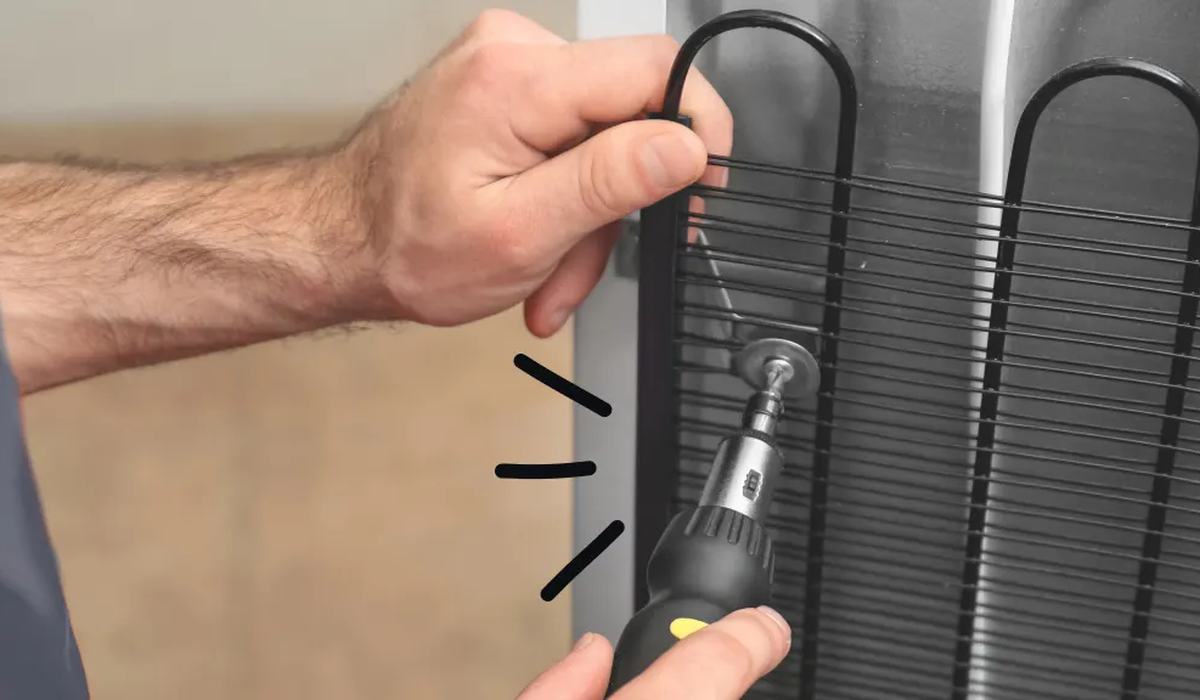
A refrigerator water filter sits inline on the supply to the dispenser and ice maker. It uses carbon block filtration to remove chlorine, sediment and some contaminants. Over time the carbon is exhausted and the filter stops doing anything useful — while continuing to restrict flow and, eventually, becoming a place where bacteria can grow.
Changing it is one of the simplest appliance maintenance jobs there is, provided you have the right cartridge and you know the flush procedure.
- Every six months for most households.
- Every 200 gallons if you use a lot of dispensed water.
- Sooner if the flow drops noticeably, the water tastes or smells off, or the filter indicator light comes on.
- Immediately after moving into a new home, since you cannot know the filter's age.
- Not on the indicator light alone — it is usually a six-month timer, not a flow sensor.
On this page
Change interval and why
| Condition | Change at |
|---|---|
| Two-person household, average use | 6 months |
| Heavy dispenser use | Every 4–5 months, or at 200 gallons |
| Light use, one person | 6 months anyway — time degrades carbon too |
| Hard, chlorinated municipal water | 6 months or sooner |
| Well water with sediment | Sooner; consider a pre-filter |
| Noticeable flow drop or taste change | Immediately |
| New home, unknown filter age | Immediately |
The carbon block does not only become saturated through use. Once wetted, it provides a damp, nutrient-rich surface, and after about six months it can support bacterial growth. That is the reason for the time-based interval, not just a litres-based one.
Find the right cartridge
- Note the fridge model number from the interior plate.
- Look at the old cartridge — the number is printed on its body, and it is the fastest route to an exact match.
- Check the filter housing for a brand and model designation.
- Search the model number plus 'water filter' on the manufacturer's parts portal.
- Beware of 'fits your model' listings that show a generic cartridge; check the part number against the manufacturer's list.
- Buy certified filters with NSF/ANSI 42 and 53 certification where the brand claims it.
Filter types
| Type | How it fits | Notes |
|---|---|---|
| Twist-in (bayonet) | Turn a quarter turn to release | Most common on modern fridges |
| Push-in (PUSH) | Grip and pull straight out | Some Fisher & Paykel and others |
| Inline (compression) | Cut into the supply line | Older and under-sink style |
| Drop-in cartridge | Sits in a housing you open | Cartridge only, housing retained |
| Internal + inline combo | Two filters | Follow the manual for order |
Step-by-step replacement
- Locate the filter. Usually inside the fridge compartment at the top right, behind the crisper, or in the grille at the bottom front.
- Place a towel under the housing. There will be a small amount of water, always.
- Turn off the ice maker if your model has a switch, so it does not try to run dry.
- Twist-in type: turn the cartridge a quarter turn anti-clockwise and pull it out.
- Push-in type: grip the cartridge and pull straight out.
- Remove the protective cap from the new cartridge and note the orientation.
- Insert the new cartridge and twist until it stops, or push until it clicks.
- Wipe up the spillage and check for drips around the housing.
- Reset the filter indicator — usually a button, or a three-second press on a dispenser control.
- Flush the system as described below before drinking the water.
New carbon cartridges release fine black carbon dust for the first few litres. Every manufacturer requires a flush — typically two to three gallons through the dispenser, discarding the water. Skip it and you will find carbon grit in the first glasses and in the ice maker.
Flushing the new filter
- Run the dispenser and discard the water — two to three gallons, or five minutes of continuous flow.
- Check the water clarity. It should run clear; grey or black cloudiness means more flushing is needed.
- Run the ice maker through two full batches and discard the first batch or two. Ice made immediately after a change contains the same carbon dust.
- Check for leaks at the housing after the first hour.
- Taste the water — it should be neutral. A persistent odd taste usually means the wrong cartridge or an airlocked line.
- Log the date on the filter or in your phone so the next change is not a guess.
If you do not want to keep buying filters
- A bypass plug — most brands sell one that replaces the cartridge so the dispenser keeps working unfiltered.
- An under-sink system — cheaper per gallon over time and filters drinking water at the tap as well.
- A pitcher or faucet filter — if you mostly drink from one tap, this is cheaper than fridge cartridges.
- Keep the ice maker fed — a bypass plug maintains ice production; simply removing the cartridge may not.
- Check your water report before deciding — if your supply is already good, the case for expensive cartridges weakens.
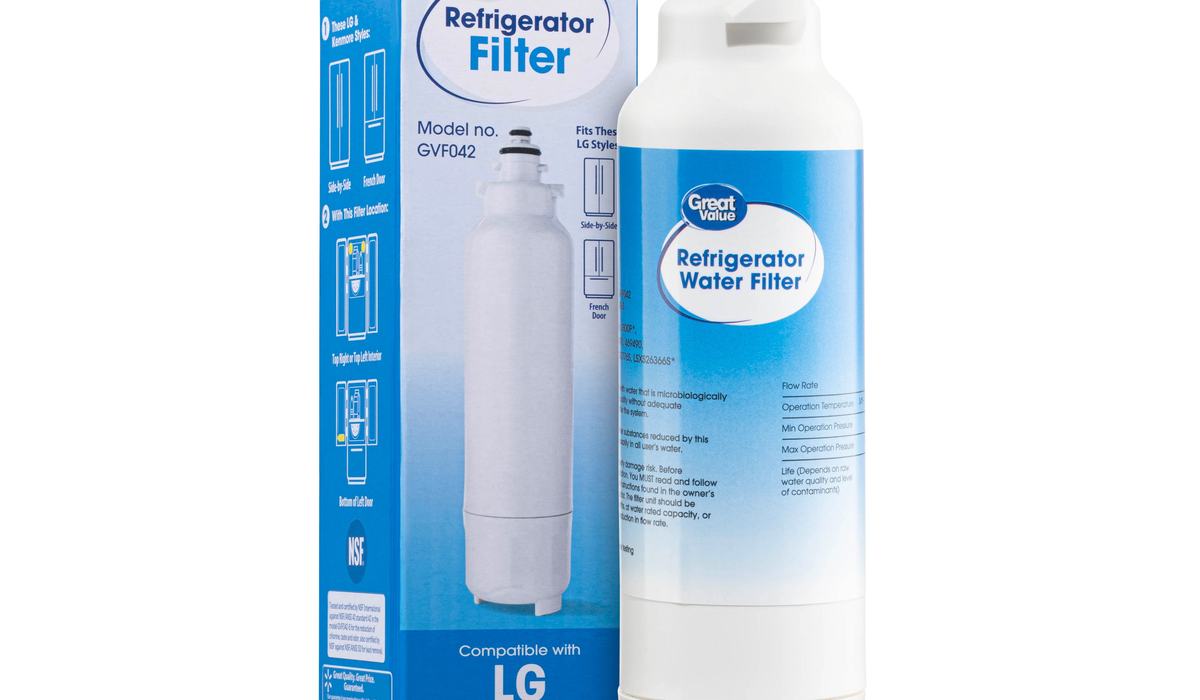
Refrigerator water filter — match the number on the old cartridge
Change every six months. The old cartridge carries its own part number, which is the fastest way to the correct replacement.
Check Price on Amazon →Change the filter every six months or 200 gallons, buy by the number printed on the old cartridge, and flush two to three gallons through the dispenser plus two batches of ice before drinking. A filter left in place for years does nothing useful and eventually does harm.
Frequently asked questions
Common filter numbers and how they map
| Filter code | Fits | Note |
|---|---|---|
| Everydrop 1–6 | Whirlpool, Maytag, KitchenAid | Number determines the model |
| PureSource / UltraWF | Frigidaire, Electrolux | Several generations |
| MWF / XWF | GE and GE Profile | Different housings |
| HAF-CIN / DA29 | Samsung | Check the prefix |
| LT series | LG | LT500P, LT700P and others |
| WF series | Various | Check the compatibility list |
Filter codes are family names, not universal parts. Everydrop 1 through 6 are all Whirlpool-family cartridges, but each fits a different set of models, and fitting the wrong number either will not seat or will not seal. The same applies to GE's MWF and XWF, which look similar and are not interchangeable.
The safest route is always the number printed on the cartridge you are removing. It is exact, it is unambiguous, and it removes any need to interpret a compatibility table.