If there is one maintenance task that pays for itself on a refrigerator, it is cleaning the condenser coils. Those coils reject the heat the fridge removes from your food. Packed with dust and pet hair, they cannot do it, so the compressor runs continuously, the fridge slowly warms, and you start shopping for a replacement that you did not need.
- Time: 20–30 minutes.
- Frequency: every 6 months; every 3 months in a pet household.
- Tools: coil brush, vacuum with a crevice tool, torch, screwdriver for the kick plate.
- Result: lower running cost, better cooling, longer compressor life.
On this page
Why coils matter so much
A refrigerator works by moving heat from inside the box to the room. The evaporator absorbs heat inside; the condenser releases it outside. The condenser is a coil of thin tubing with fins, and the fins are what do the work.
- Dust insulates. A dust layer on the fins works like a blanket, and heat cannot escape.
- The compressor compensates by running longer — more electricity, more heat, more wear.
- Cooling degrades slowly, so you may not notice until food is warm and you assume the fridge is dying.
- Running cost rises measurably. A blocked condenser is one of the few home maintenance issues with a direct, visible effect on the electricity bill.
1. Find your coils
| Fridge type | Coil location | Access |
|---|---|---|
| Older / basic models | Exposed black coil grid on the back | No tools, just pull the fridge out |
| Most modern top/bottom-freezer | Behind a kick plate at the bottom front | Screwdriver or clip release |
| Some models | Both front base and rear | Check both |
| Counter-depth / built-in | Front base grille, sometimes with a filter | Remove the grille carefully |
Unplug the refrigerator before any of this. You will be reaching near the compressor, the fan and the defrost circuit, and the coils have sharp fin edges that cut. Gloves are worth wearing.
2. Unplug and prepare
- Unplug the fridge and pull it out far enough to work — 30–40 cm from the wall.
- Remove the kick plate if the coils are at the front, keeping the screws in a cup.
- Lay an old towel or bin bag under the work area — you are about to remove a surprising amount of debris.
- Get a torch so you can see the actual state of the fins, not just the front row.
- Wear gloves — condenser fins are sharp.
3. Brush and vacuum
- Brush along the fins, not across them. A coil brush is designed for this. Brushing across bends the fins and permanently reduces performance.
- Work from the top down so loosened dust falls clear rather than settling on cleaned sections.
- Vacuum as you go with a crevice tool or a brush attachment on low suction. Do not press hard against the fins.
- Reach behind and between. Dust accumulates at the back of the coil pack, which is where the blockage actually starts.
- Check the fan blade for hair wrapped around the shaft — common in pet households and a real cause of buzzing.
- Compressed air can help at the end, but only with a vacuum running to catch what it lifts, and only outdoors or with ventilation.
4. Check the fan and drain pan while you are there
You have the fridge pulled out. Two more things take three minutes and prevent two more faults.
- Condenser fan: spin it gently. It should turn freely and quietly. A stiff or noisy bearing means the motor is failing — a $40–$90 part.
- Drain pan: check it is seated correctly under the drain tube and not cracked or scaled. Clean the scale with warm water and vinegar.
- Drain tube: confirm it empties into the pan rather than beside it. They get knocked out of place when a fridge is moved.
- Water line: look for white mineral residue at the fittings, which indicates a slow weep.
5. Reassemble and test
- Refit the kick plate and tighten the screws snugly, not hard — plastic cracks.
- Push the fridge back, leaving 5 cm clearance at the rear for airflow. Do not push it flush to the wall.
- Check it is level and that the doors close on their own when partly open.
- Plug it in and leave it four hours before judging cooling. Thermal recovery is slow.
- Listen: the compressor should run and then cycle off, rather than running continuously.
Signs you left it too long
| Sign | What it means |
|---|---|
| Fridge runs constantly, never cycles off | Coils blocked or a seal leak |
| Back or side of the fridge very hot to touch | Heat cannot escape the condenser |
| Food in the fridge warming while the freezer is fine | Airflow problem, often with heat rejection issues |
| Electricity bill creeping up with no other change | Compressor running longer |
| Visible grey blanket on the coils | Overdue by at least a year |
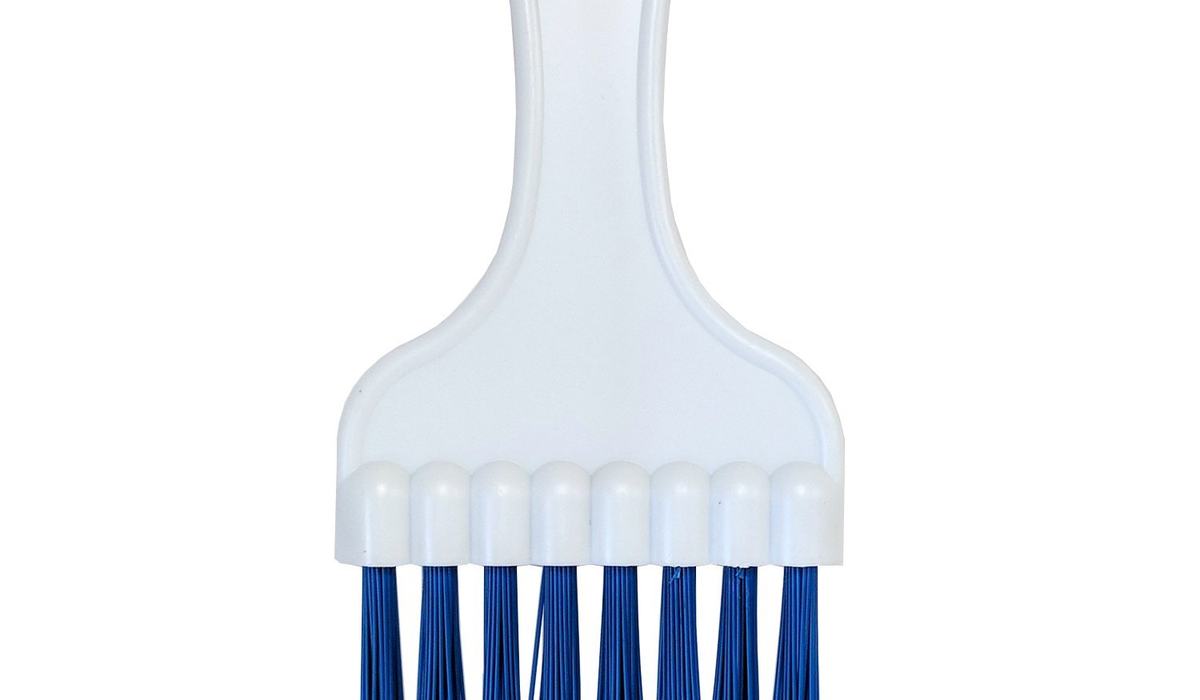
Coil cleaning brush — the one tool that makes this job work
A dedicated coil brush reaches behind the coil pack where dust actually accumulates. Brushing across the fins with a household brush bends them and hurts performance.
Check Price on Amazon →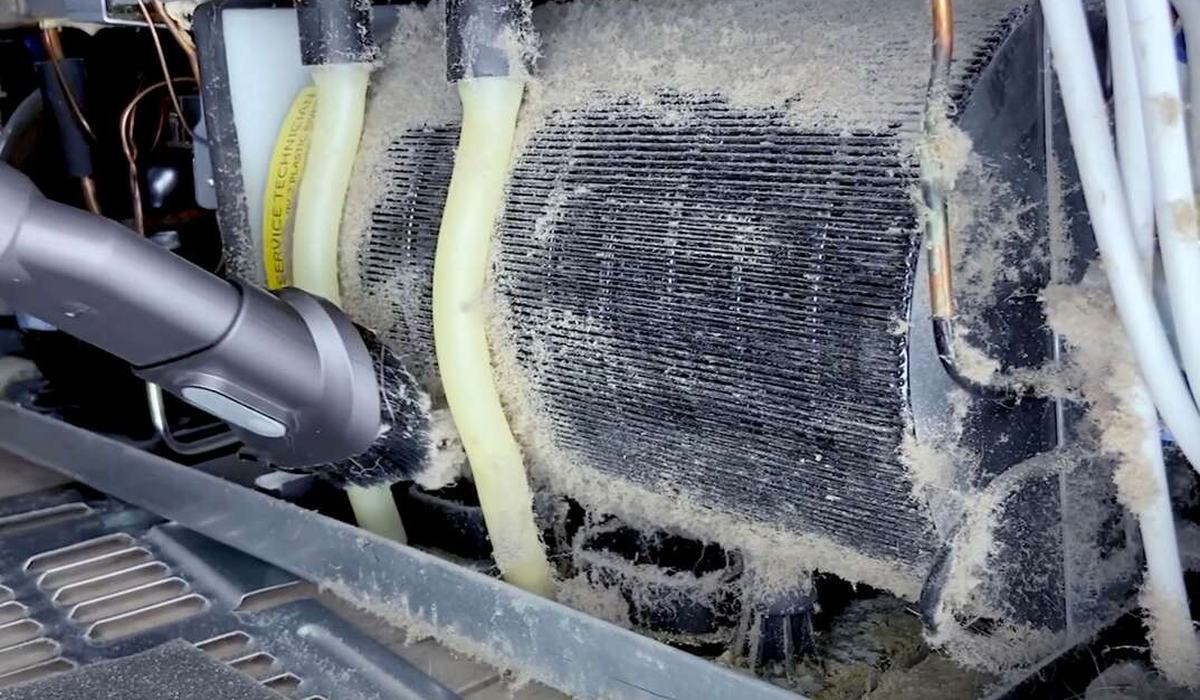
Vacuum with a crevice and brush tool
Use low suction with a brush attachment so you do not bend the fins. A crevice tool reaches the gaps between coil and cabinet.
Check Price on Amazon →Brush along the fins, vacuum as you go, clear the fan and check the pan. Twenty minutes twice a year keeps the compressor cycling normally, keeps cooling strong, and keeps the running cost where it should be. This is the highest-value maintenance task on a refrigerator.
Frequently asked questions
What you need for the job
| Tool | Purpose | Cost |
|---|---|---|
| Coil brush | Loosens dust between the fins | $10–$20 |
| Vacuum with a brush attachment | Removes loosened dust | Already owned |
| Long crevice tool | Reaches behind the fridge | $10 |
| Torch or headlamp | See what you are doing | ~$20 |
| Gloves | Sharp fin edges | $8 |
| Old towel | Protects the floor | Free |
Condenser coils are thin aluminium fins packed closely together, which is exactly the geometry that traps dust and exactly the geometry that will cut your hands. A coil brush reaches between the fins without bending them, and a vacuum with a brush attachment lifts out what the brush loosens.
Work from the top downward and vacuum as you go, rather than brushing the whole coil and then vacuuming. Dust you release but do not capture simply settles back into the fins, and you will be doing the job again sooner than you need to.